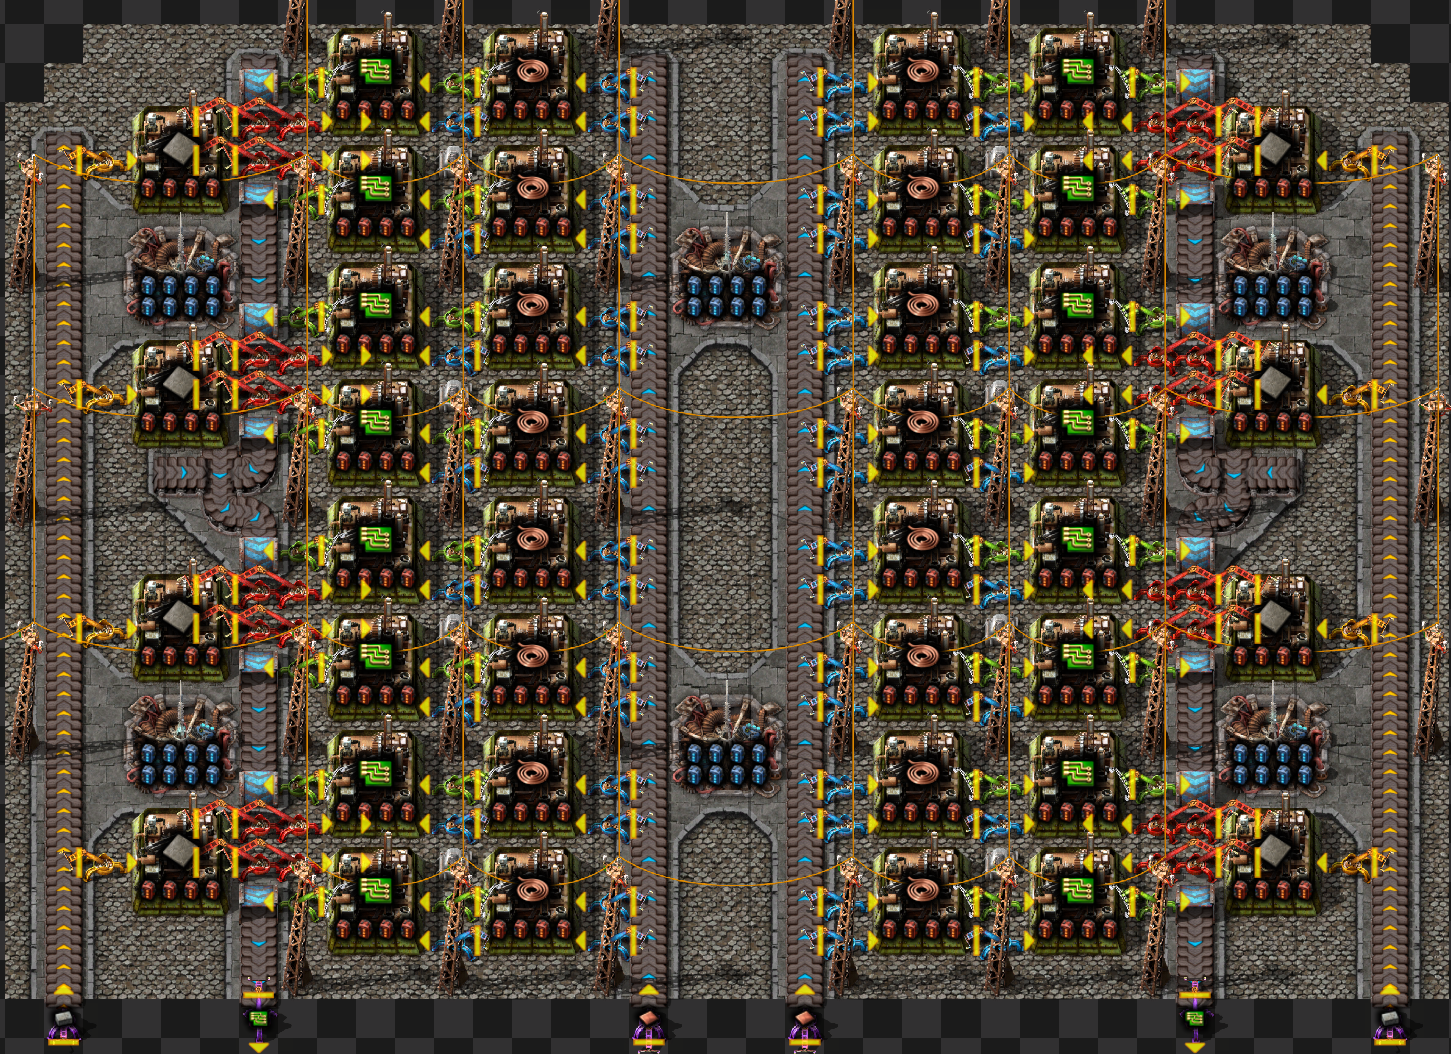
Design Tips
These tips were written targeting a 1.1 Space Exploration playthrough; some tips may not be applicable to our current Space Age playthrough.
Blueprint Sandbox
Blueprint Sandbox is a mod that grants you editor-like powers in a separated surface. It allows you to design new factories and blueprints and run them at full capacity and under different conditions.
To access Blueprint Sandbox, use Shift-B. While in this mode, you will be a disembodied camera able to instantly craft and place any item. Keep in mind your real body will still exist, and can take damage and even die, so be sure to access it from a safe place.
You will have access to different sandboxes; a personal one, a shared one where you can collaborate, a planetary one, and an orbital one that allows you to place scaffolding. The reset button there will regenerate a new, blank sandbox, clearing away everything already there.
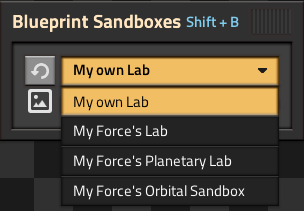
Since Blueprint Sandboxes are just a separate surface in game, they are simulated normally. Try to clear old work or shut off active tests from time to time, so they are not constantly being run.
Ores and Water
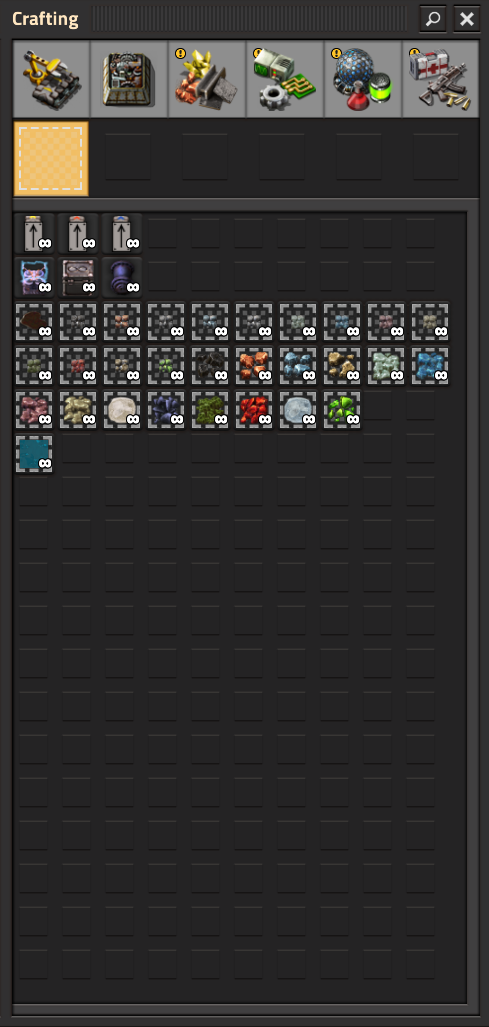
Blueprint Sandboxes has a section where you are able to place ores and water, where necessary.
Loaders and Infinity Chests
Blueprint Sandboxes gives you access to Loaders, Infinity Chests, and Infinity Pipes.
These allow you to simulate the provision and consumption of resources from and by places outside the blueprint you're working on, such as resources taken up and provider by the rail network.
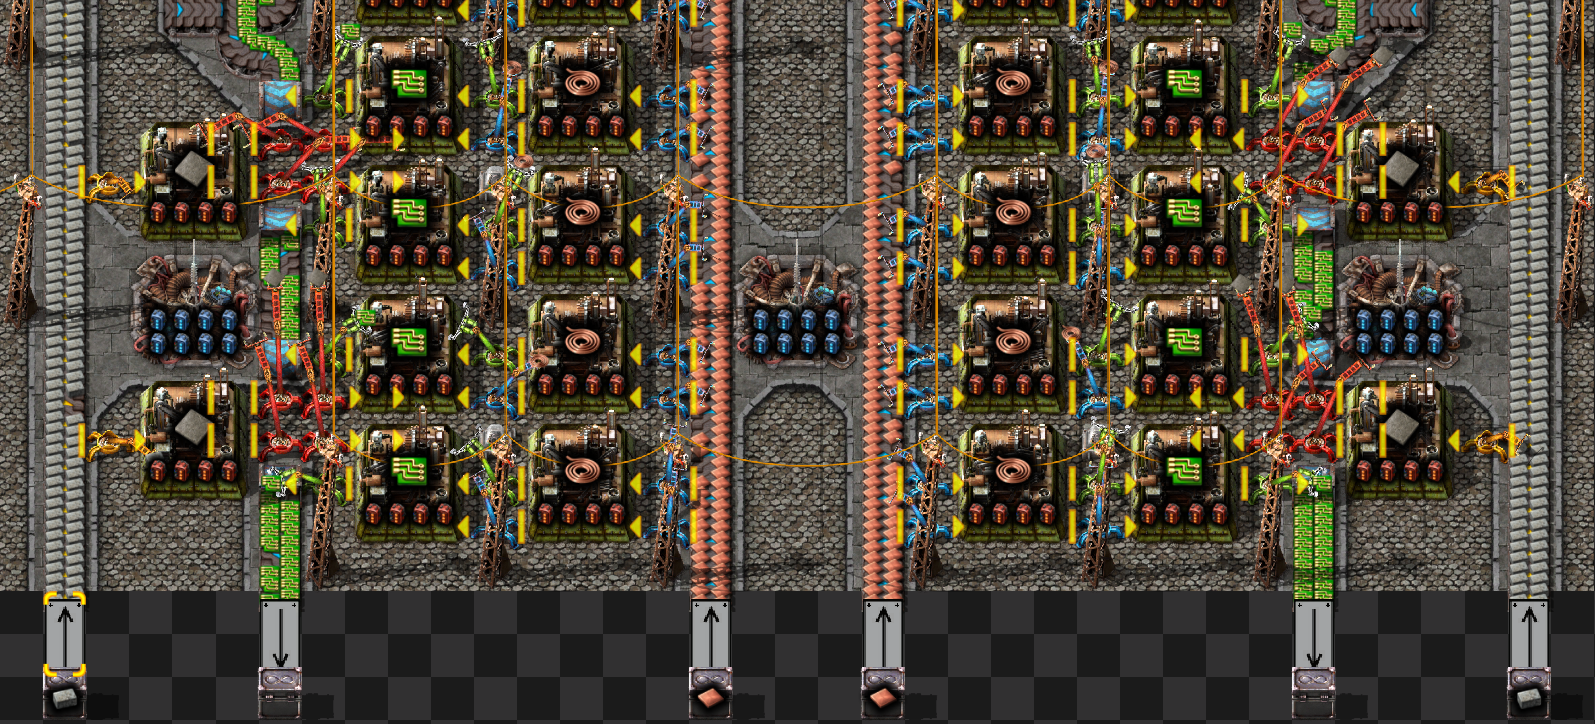
To have Infinity Chests or Infinity Pipes act as infinite sources, simply select the item or fluid you'd like to provide in the filter.
To use a Infinity Chest as a sink, select the "Remove Unfiltered Items" option. Infinity Pipes will act as sinks automatically if no filter is selected.
Loaders will act similar to inserters, except they will saturate the belt, taking 15, 30, or 45 items per second. Unlike every other building in the game, Loaders have two rotations; after you place one down, rotating it will instead flip it to load from the belt rather than unload to the belt.
Electric Energy Interface
These, in their default configuration, act as infinite power sources and very large accumulators. However, for testing power setups, they can also be made to act as power consumers.
Do note, however, that power consumption and production works by adding or subtracting the energy amount from the internal accumulator pool of the entity every tick. Reducing the Buffer Size setting will also limit the maximum amount of Power Production or Power Usage if the energy-per-tick is larger than the buffer.
Modules
In all recipes that accept Productivity Modules, they should be used (with the potential exception of the lowest level recipes such as mining), and combined with Speed Modules in beacons. Speed Modules and Productivity Modules have a multiplicative effect on the number of factories needed, and at high levels, adding speed modules (perhaps surprisingly) lowers the total energy requirements per item.
Using Helmod, you can see the effects of different amounts of Speed Modules on both the number of factories required and the energy cost. Keep in mind that the lowered resource requirements also represent a reduction in embodied energy.
When Productivity Modules cannot be used, Speed Modules will only reduce the amount of space and machines needed, at the cost of a (often quite expensive) power premium. Using Speed Modules alone therefore usually presents no advantage except for compactness, though that is often desirable.
Efficiency Modules may be used in small amounts to reduce the power requirements of a factory significantly. High level Efficiency Modules will begin to counteract the increased power draw of more Speed Modules (of the same level) at a time.
Beacons
In Space Exploration, machines can only ever be affected by one beacon at a time. This makes the calculation of rates simpler: you know that every machine (of a given type) is affected by one beacon, each with the same set of modules.
You should therefore design your blueprints "around" beacons.
The most efficient use of beacons (that is, the lowest power and fixed cost) is, of course, to have them affect as many machines as possible.
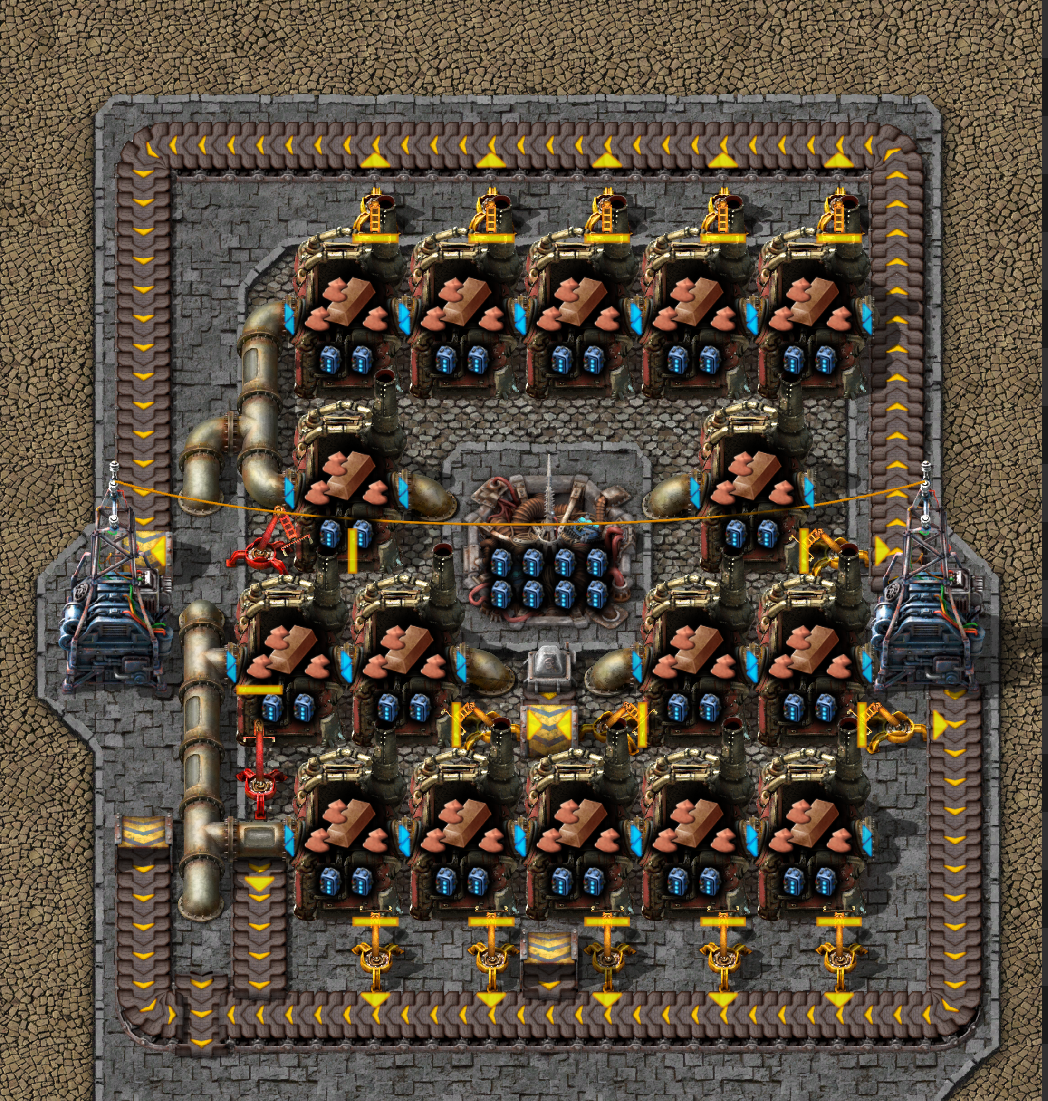
Using beacons this way is more challenging, as it requires trickier input and output routing in a tighter space, with designs that are often non-symmetric.
Depending on who you are, you might find this interesting or annoying. An alternative is to use a more rectilinear design that sacrifices some beacon coverage for some regularity.
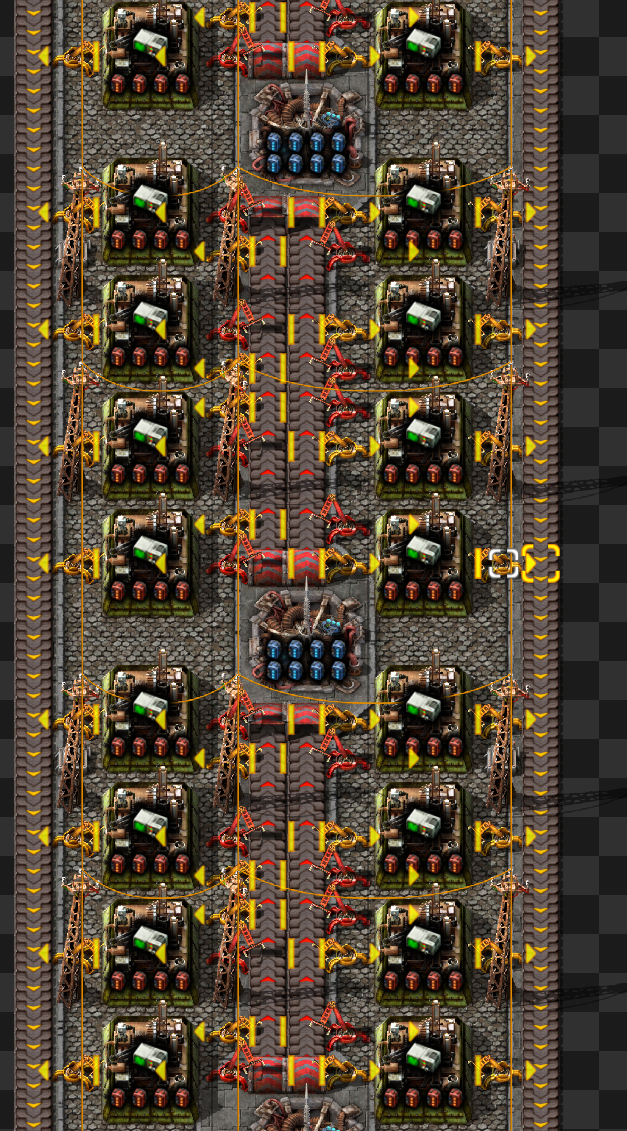
Wide Area Beacons add additional module slots and have larger coverage than standard Beacons, making them more powerful. Compact Beacons have higher Distribution Efficiency, meaning the effect per module is greater.
Testing and Troubleshooting
To test a blueprint in a Blueprint Sandbox, simply hook up the inputs and outputs to Infinity Chests and Infinity Pipes, and hook up the power to an Electric Energy Interface.
You can observe the production rates by letting it run for a minute, and then checking the Production graph (P). You can filter for your products, and divide the rate per minute by 60 to get the rate per second.
Does it match what you planned?
If not, try to watch for idle machines (this is easiest by looking for stopped animations with Alt mode off), starting with the output product first. If none are ever idle, but they should be making more product, double check that they're all being affected by beacons and have the correct modules.
If some are idle because their output buffer is full, you may not be unloading them fast enough. Also check Filling a Belt. If it's a fluid output buffer, making sure you're not exceeding a fluid throughput limit.
If some are idle because they are starved, work back one layer to the machines that produce that item. Remember that idle machines are not themselves problems; they are only problems if they are bottlenecking (limiting) the desired output.
Making a good blueprint
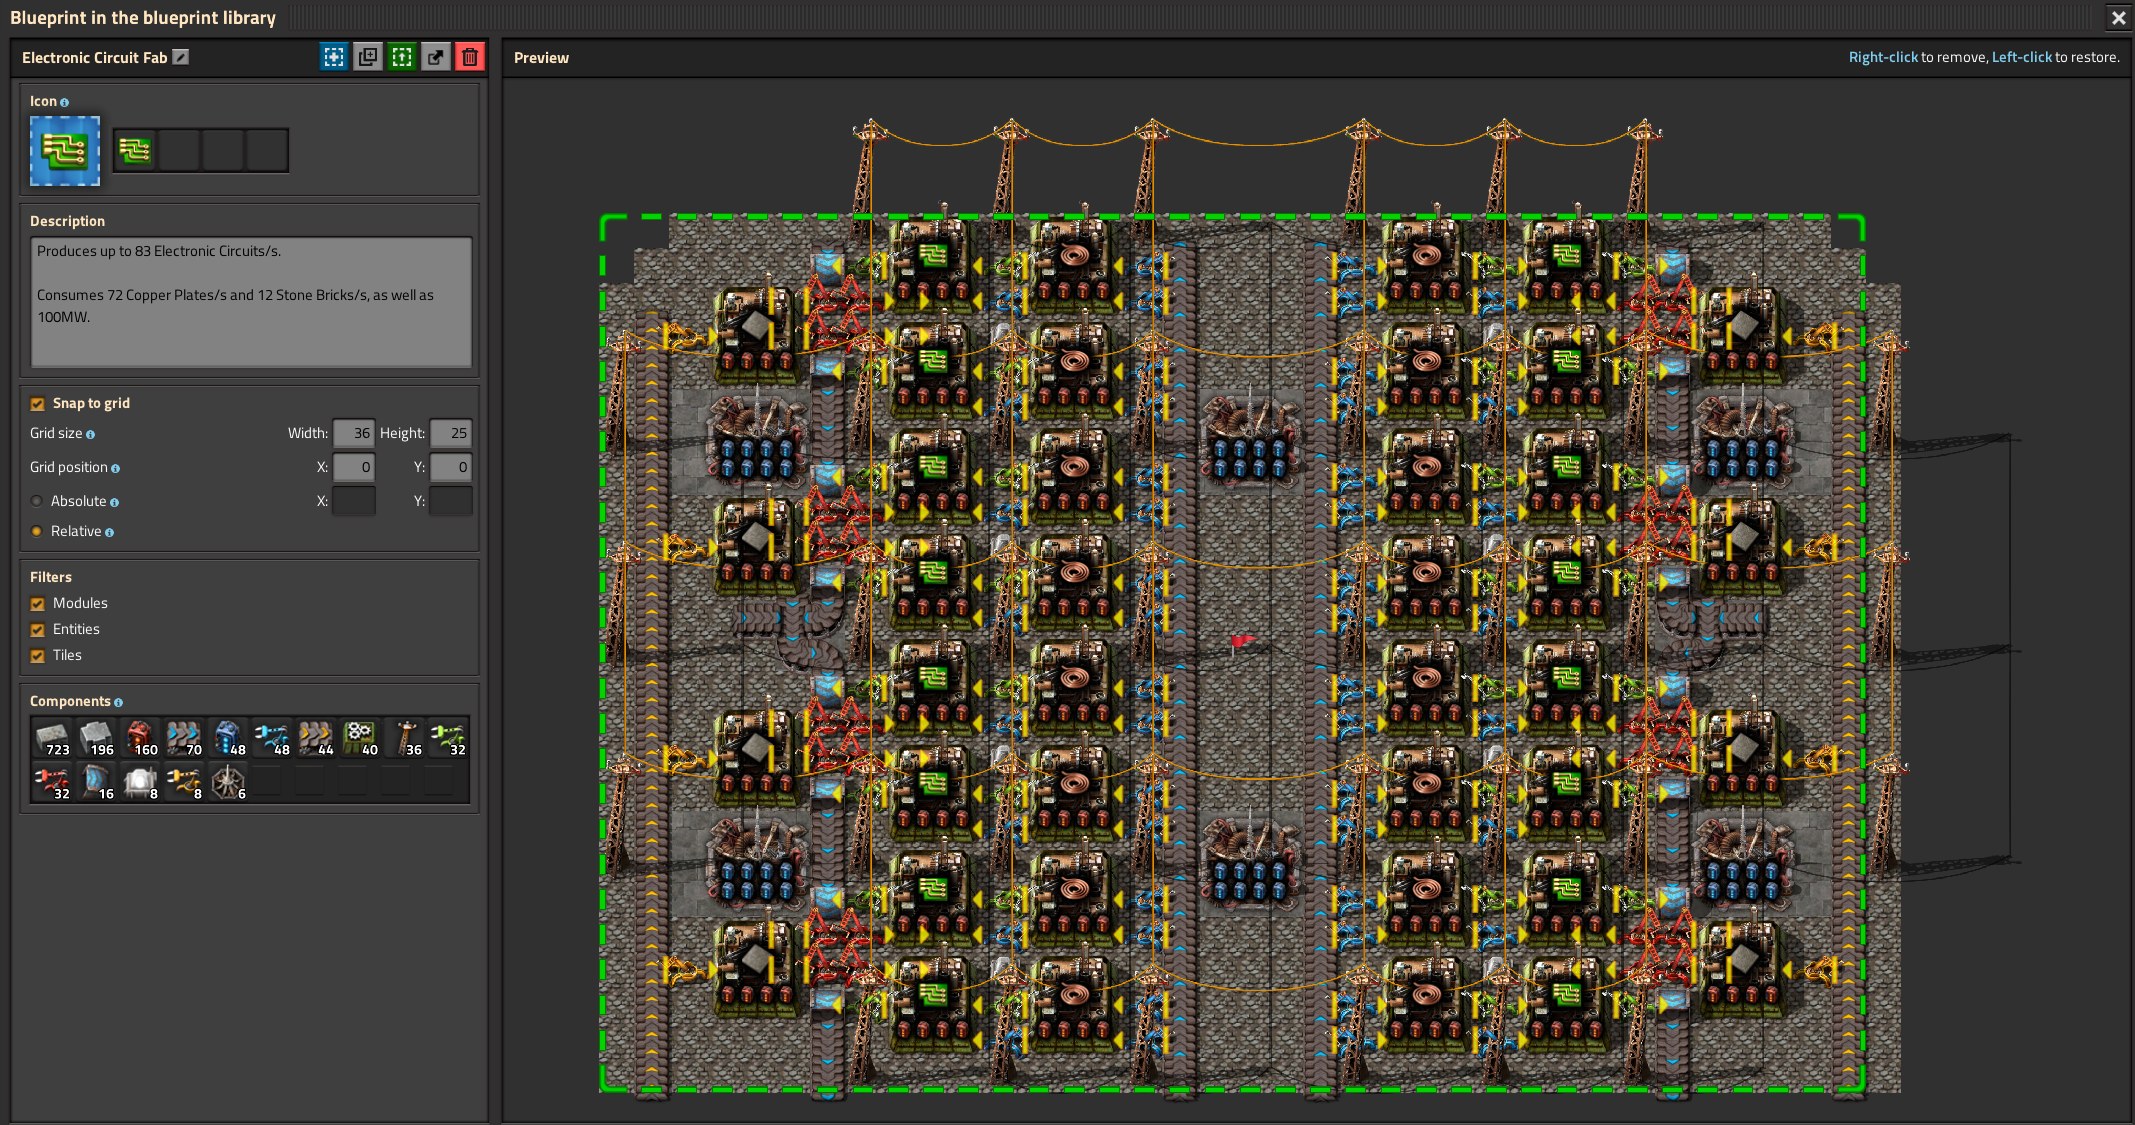
A blueprint should be well titled, including what it's making, and have its primary icon be the item its producing, or something that represents it well.
Blueprint descriptions should also include the required resources and expected products when run at maximum capacity. It's also a good idea to include the expected maximum power consumption, usually obtained by running the factory in a Blueprint Sandbox.
If there are any setup steps, concerns, byproducts that have to be dealt with separately, or anything else someone who's never seen this design might need to know, also include these in the description.
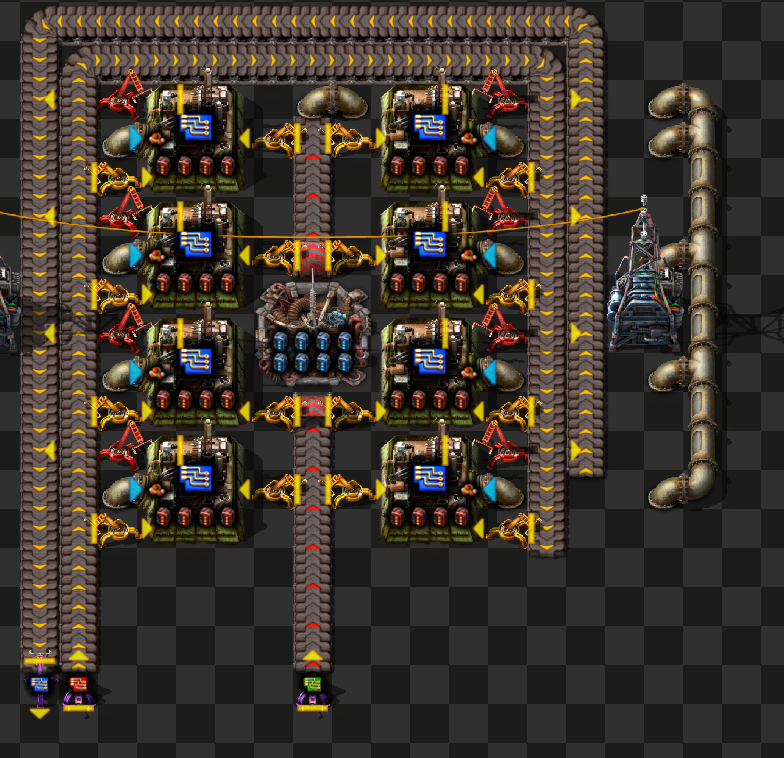
When there are several inputs and outputs, it may not be immediately clear what needs to go where. In this case, you can user Filter Inserters to indicate items.
(Constant Combinators can also be used. To see their contents in Alt mode, an option be enabled in the Interface section of the settings)
If designing a blueprint in a Blueprint Sandbox, make sure to remove any Electric Energy Interfaces, Loaders, and other unobtainable items from the print.
Routing
Inputs are often kept in a similar place to each other. Outputs may be on the same "side" of the blueprint as the inputs (return), or they may be on the opposite side (passthrough). While returning the produced items to the same location as the inputs is often more useful for blueprints that take their inputs and give their outputs from and to a rail network, a passthrough configuration is useful if the outputs are expected to be routed directly to another factory.
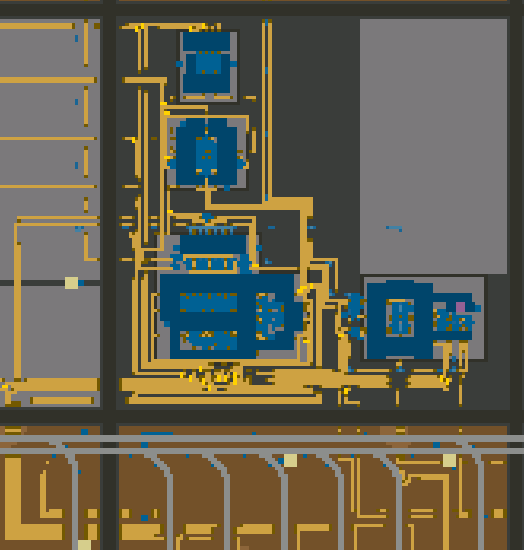
Remember that routing belts and pipes can take a lot of space outside of your blueprint, sometimes as much space as the blueprint itself. Be conscientious about the person who's going to hook this blueprint up — often, that person will be you.
Niceties
Placing lamps and tiles is fairly easy to do when designing, and makes the factory look better for the thousands of person hours we will collectively be spending with it.
Using the Bill of Materials utility, you can include constant combinators in your blueprint that can be used to request the required items from the Universal Supply System. While not appropriate for all prints, it can be helpful for blueprints or blueprint books that are intended to be put down as a monolith.
If the blueprint is intended to be placed in space or over water, it its convenient to include the landfill or scaffolding tiles in the print. This is easy enough, but if you would like to trim the tiles down to only those required to build the entities, there are a couple of tricks:
For Space Scaffolding, after you are done with your build, create a Deconstruction Planner and set its Tile mode to Only. Then just simply drag it over the entire print. Factorio will not remove tiles below entities in this mode.
For Landfill, place the landfill first. Then, use the Blueprint Sandbox Water item to fill in water everywhere around the print. When creating the blueprint, exclude the Water item from the list by right clicking on it in the Components section.
Belts and Pipes
Filling a Belt
If you have designed a factory to produce close to the throughput limit of a belt (e.g. producing 30 item/s to output to a red belt), you may be disturbed to find gaps in the belt.
The reason this happens is because the last inserter outputting to a given lane has to swing back to pick up more items. When it's doing this, a gap is left in the belt that cannot be filled by any later inserters.
The easiest fix is to simply add a second inserter to output from the last machine that outputs to that lane. Another possibility is using a "feeder" belt that sideloads onto the output belt. This grants a natural buffer that can empty while the inserter is swinging back to the machine.
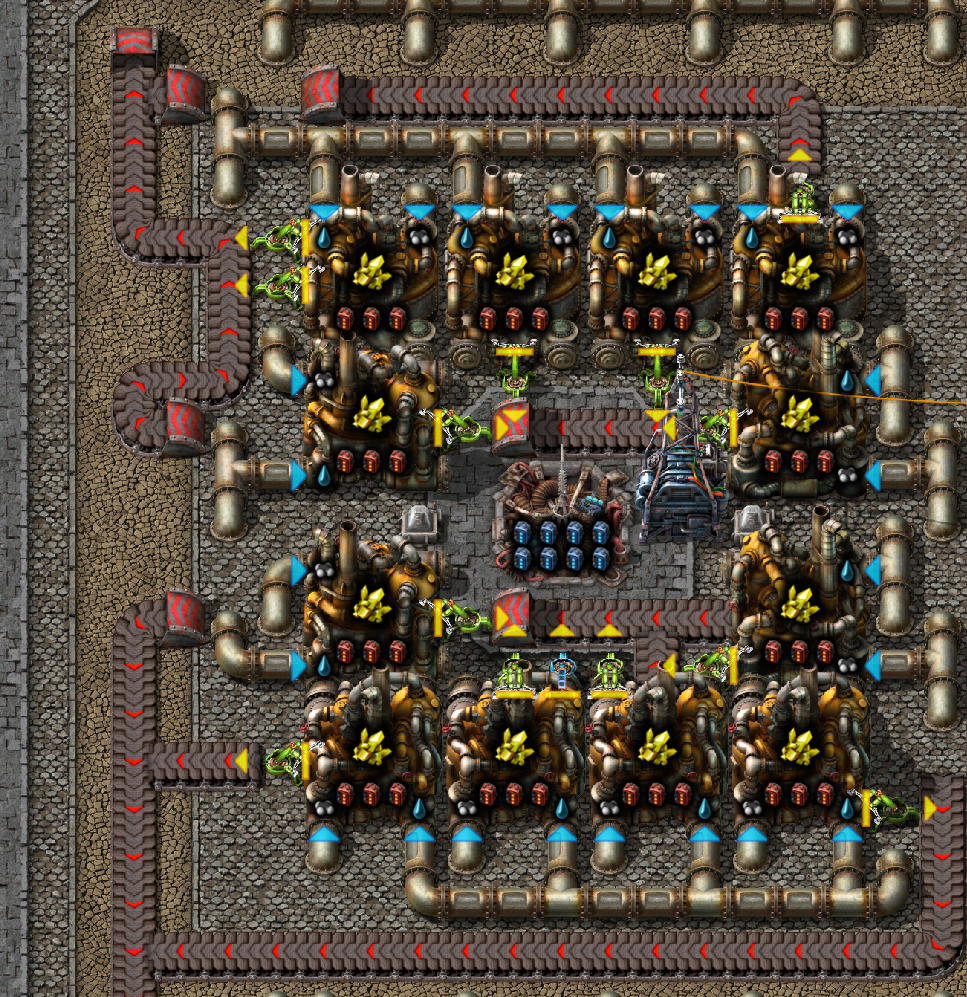
You may also find that you need to output to both sides of the belt with, say, five machines, an odd number. An easy way to work around this is to have the middle machine output to both sides.
Transport Lines
Factorio calculates all connected belts of a single type as if they were all one entity, rather than hundreds or thousands. This optimisation saves a lot of time in belt heavy factories.
Each splitter creates two new lines, and acts as an entity itself. Every time the speed of the belt changes (going from red to yellow), a new transport line is created.
While it won't have any immediate consequences, it is good practice to have each line of belts be continuous, and to not use splitters unless they are necessary.
Balancing
Many electrons have been agitated for the purpose of recording and researching Belt Balancers, devices which redistribute their inputs to their outputs perfectly evenly.
The question is when and how to use them?
Luckily, this has a nice answer: you don't. Balancing within a factory is almost never necessary or useful. Balancing or redistributed belt lanes is similarly unhelpful.
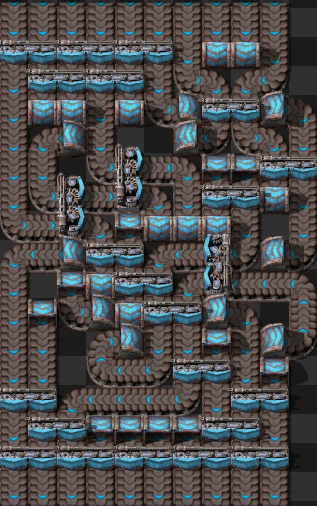
An unbalanced factory will draw from its belts unevenly, output to its belts unevenly, and have its machines produce wildly different amounts of products over their lifetimes.
Luckily, this has no downsides.
Train Stations
Balancers do have a valid use on train stations, to ensure that cargo wagons empty at the same time, so the train can spend as little time waiting at the station, and machines aren't starved because the train is waiting to empty.
They can be avoided here, too, with careful design, but it requires a balanced design of blueprints throughout the factory, and balancers are a fine substitute.
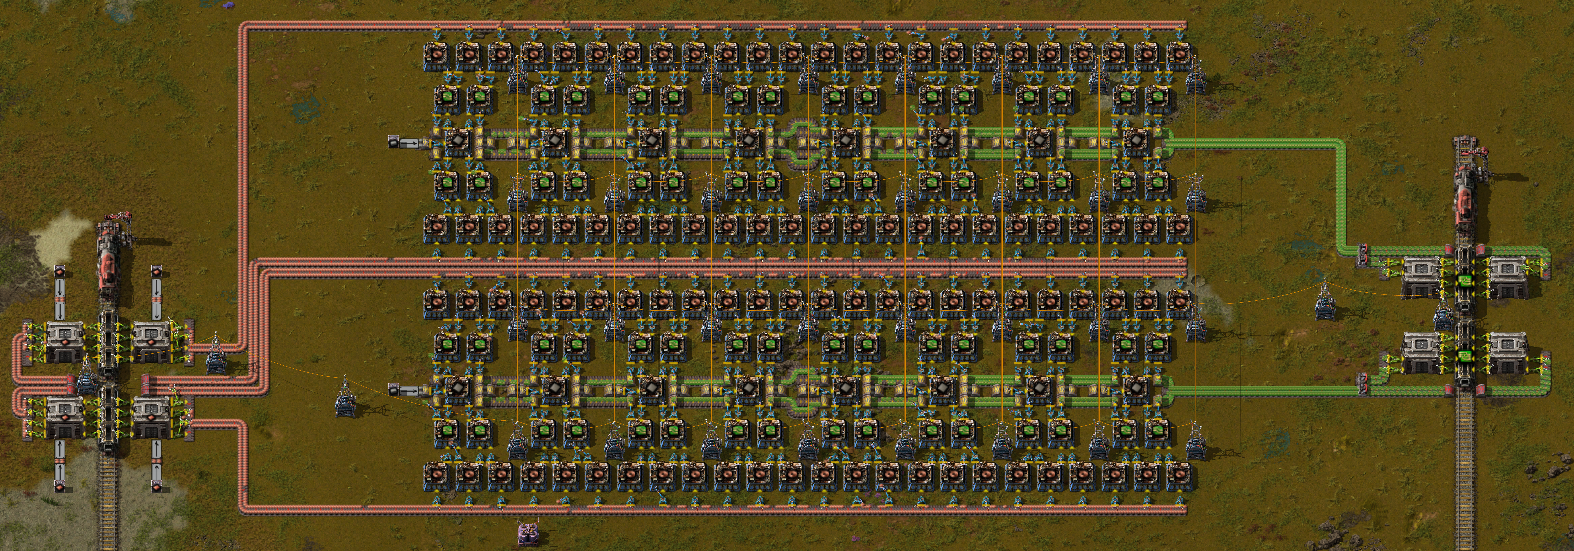
Luckily, in Space Exploration, Warehouses mean that fewer splitters are required to balance train stations generally.
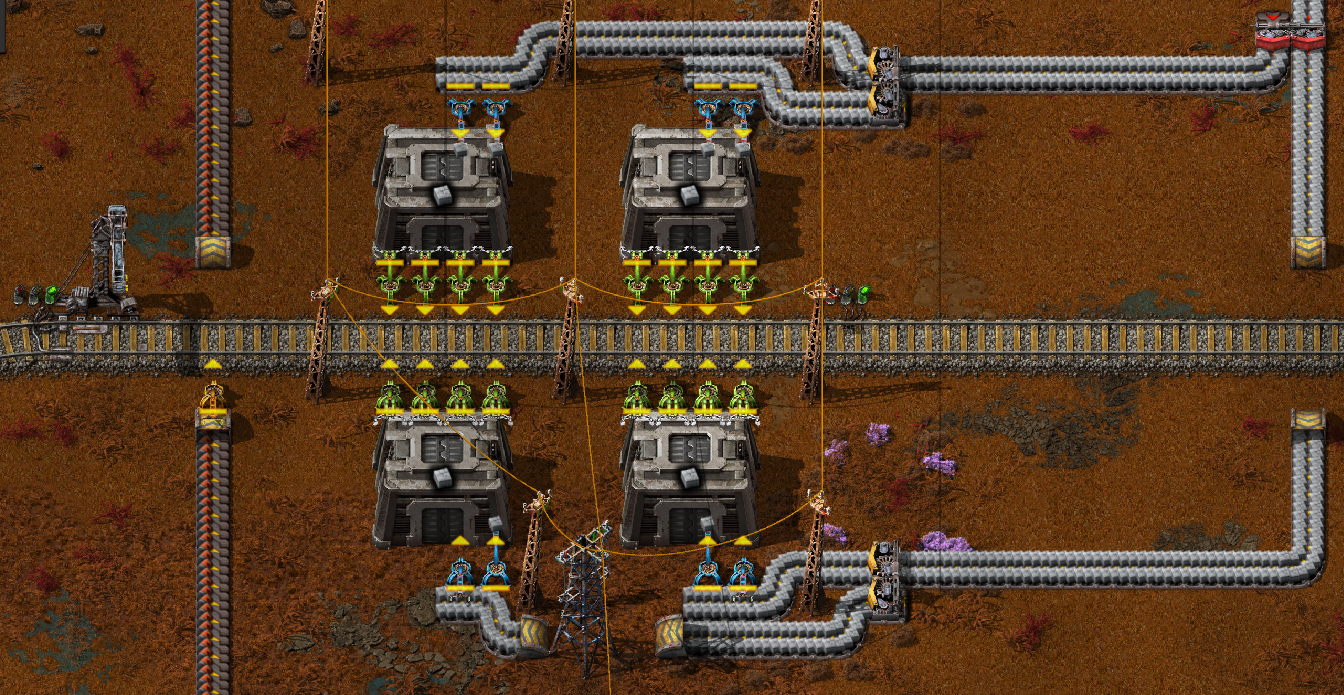
Fluid Brackets
The typical way to connect fluid inputs looks like this, where inputs are chained together:
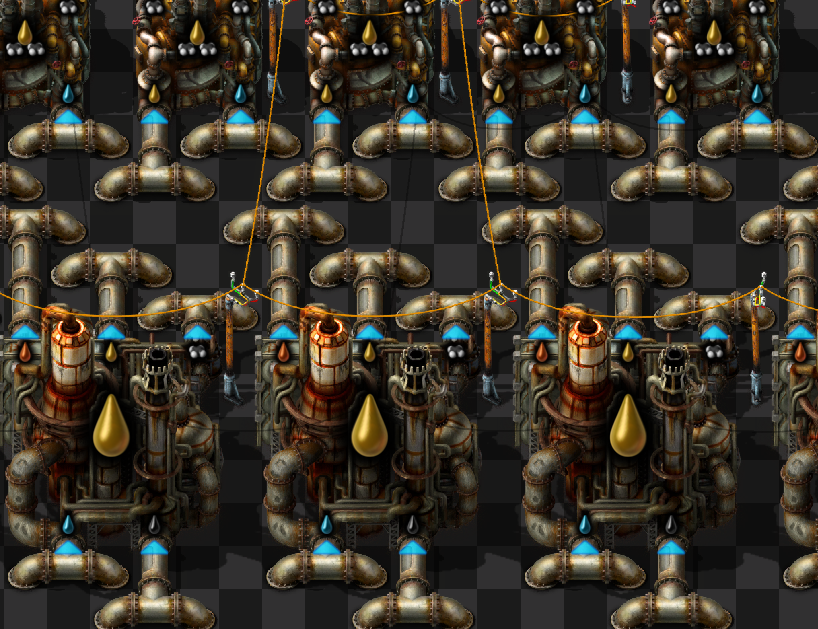
However, a more compact method is to use a "fluid bracket":
where each input only requires one tile of (immediate) horizontal space.
On-site, off-site
When planning a new factory, you need to decide which intermediate products will be made on-site, as part of this factory, and which should have their own dedicated factories.
While this decision is left to your good judgement, some guidelines:
You can use FNEI (Ctrl-E) the look at where your candidate intermediate is used. If it is used in many recipes, it may be good to move it into its own module, rather than requiring each to include its own on-site production. If it is used in very few or only this one, the opposite may be true.
If making the recipe on-site would require you to pull in many inputs not otherwise required, that indicates it should have its own module. Conversely, if the recipe shares many of its requirements with inputs you already have for other steps of the process might be a good candidate for on-site crafting.
Think about what resources are already available logistically, and which ones should be made available.
You're not limited to one product. If your main product and one of its intermediates have a lot of overlap in required materials, you can make more of the intermediate than you need and output both.
